A leaking roof can quickly go from a minor inconvenience to a major problem. If left untreated, it can lead to costly damage, including mold and rotting wood.
In this blog, we’ll guide you through the steps to fix a shingle roof leak, ensuring your home stays safe and secure—whether you’re a DIYer or just curious!
How do I repair a shingle roof leak?
To repair a shingle roof leak, lift the damaged shingles, apply roofing cement beneath, replace the shingles, and seal with more cement to ensure water can’t penetrate.
Key Takeaways
- Leak Detection: Identifying the source of the leak is crucial for a successful repair. Check for damaged shingles or gaps in your roof’s structure.
- Repair Process: The repair process involves removing the damaged shingle, applying roofing adhesive, and installing a new shingle to seal the area.
- Safety First: Always prioritize safety by using a stable ladder, wearing protective gear, and avoiding work in adverse weather conditions.
Why Does a Shingle Roof Leak?
Before diving into the repair, it’s important to understand why your shingle roof may be leaking. Shingle roofs are designed to protect your home from the elements, but over time, they can deteriorate or become damaged.
Common reasons for a shingle roof leak include:
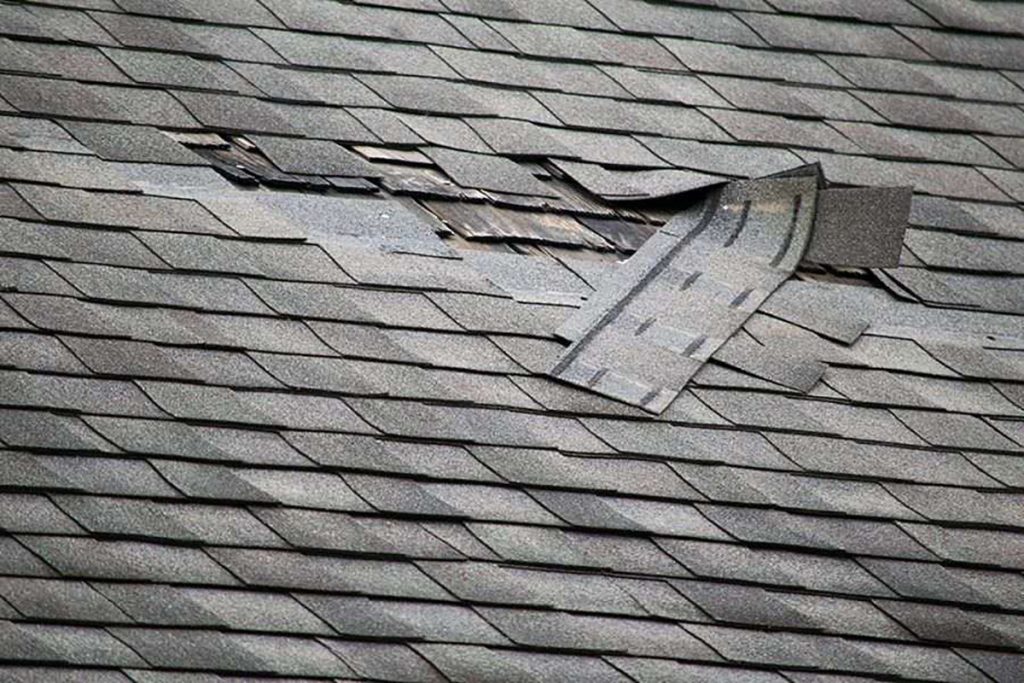
- Broken or Missing Shingles: High winds, storms, or even old age can cause shingles to crack, break, or be blown off entirely.
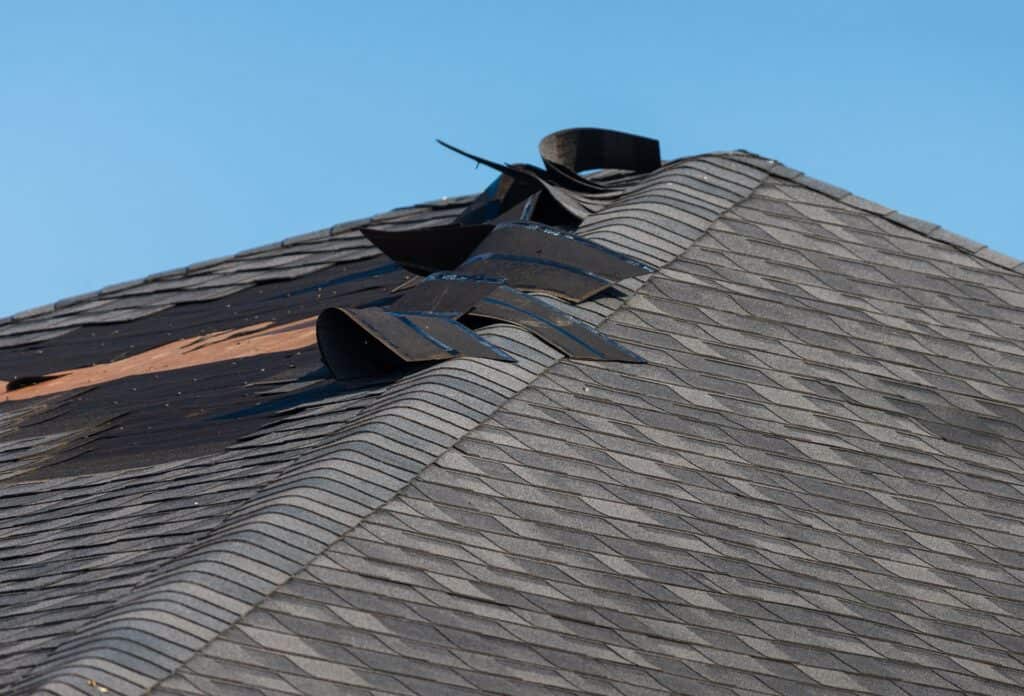
- Lifted Shingles: If shingles aren’t properly secured, they can be lifted by wind or improper installation, allowing water to seep beneath.
- Damaged Flashing: Flashing around roof features like chimneys, vents, or skylights can wear out, creating openings where water can get in.
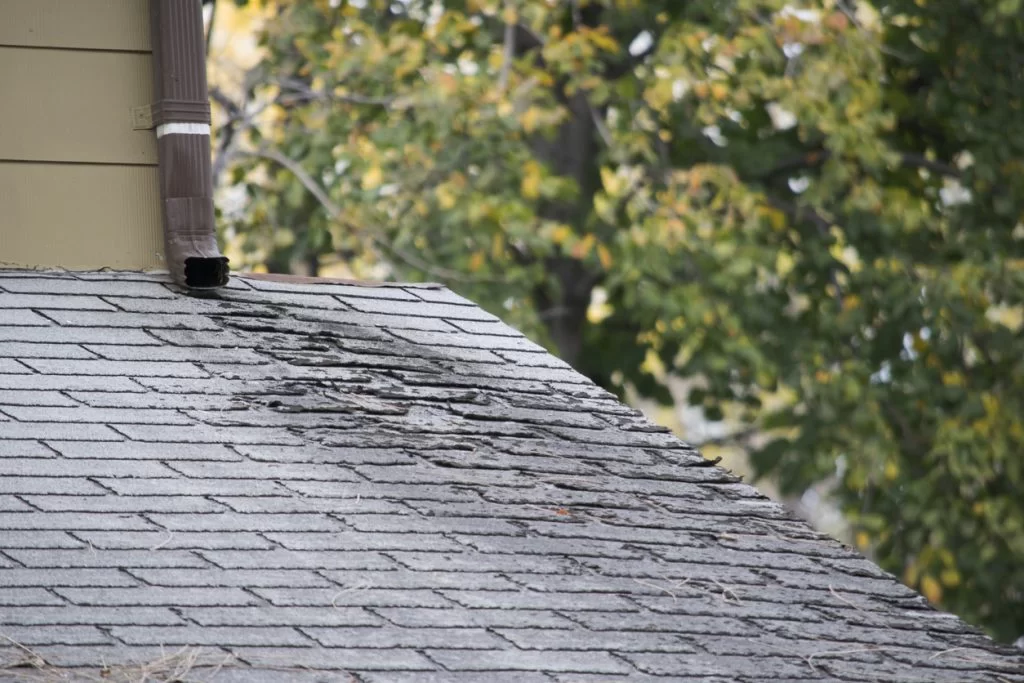
- Clogged Gutters: Clogged gutters can cause water to pool on the roof, eventually finding its way under the shingles.
Identifying the cause of the leak will help you figure out if it’s something you can fix on your own or if it’s time to contact a specialist in commercial roofing in Savannah, GA.
How to Find the Source of a Roof Leak
Locating the exact source of a roof leak can sometimes be tricky. Here’s how you can do it:
1. Inspect the Interior of Your Home
Start by inspecting the ceiling directly beneath the roof leak. Look for signs of water stains, mold, or mildew. Mark the spot where the water is entering to help guide you during the repair process.
2. Check the Roof From the Outside
Once you’ve pinpointed the general area, climb up on the roof (or use a ladder) to inspect the shingles and flashing. Look for the following:
- Cracked, curled, or missing shingles: These are the most obvious signs of damage.
- Damaged flashing: Look around chimneys, vents, and skylights for any gaps or wear.
- Debris or clogged gutters: Remove any leaves or debris blocking water from flowing off your roof properly.
3. Use Water to Identify the Leak
If you can’t find the source of the leak right away, use a garden hose to gently spray the roof from the top, working your way down.
Have someone inside the house to check for signs of water entering while you spray different areas. This can help you pinpoint where the leak is coming from.
How to Repair a Shingle Roof Leak: Step-by-Step
Once you’ve found the source of the leak, it’s time to repair it. Follow these steps to fix the leak yourself.
Step 1: Safety First
Before you begin, take safety precautions:
- Use a stable ladder to access the roof, and ensure it’s positioned securely.
- Wear non-slip shoes to avoid slipping on the roof.
- Avoid working in bad weather conditions, such as rain or high winds.
Step 2: Remove Damaged Shingles
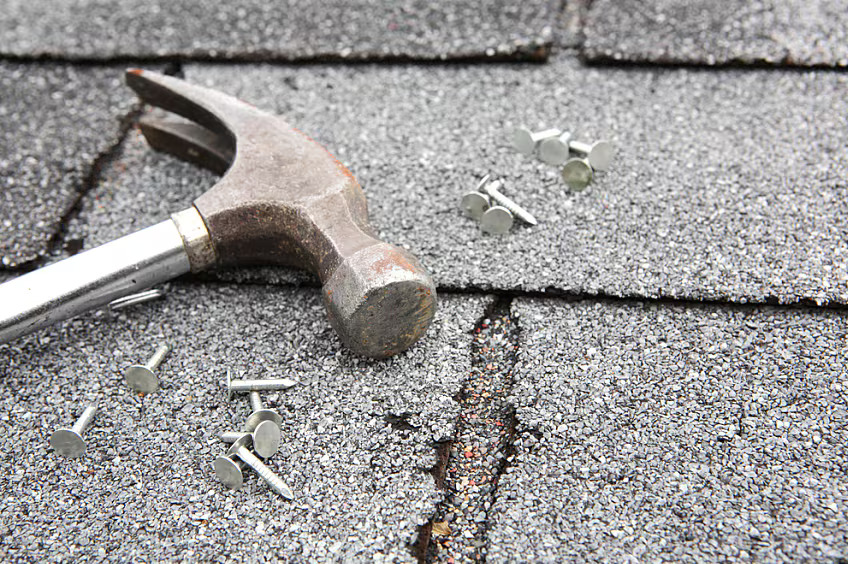
Once you’ve identified the damaged or missing shingles, use a pry bar to carefully lift them from the roof. Be cautious not to damage the surrounding shingles.
You’ll need to remove the nails holding the damaged shingle in place, so use a hammer or nail puller to take them out.
If the shingles are cracked or broken, it’s best to replace them entirely rather than try to patch them.
Once the damaged shingles are removed, check the area beneath them for any signs of rot, mold, or further damage.
If there is damage to the underlayment, it may need to be repaired or replaced as well.
Step 3: Install New Shingles
Next, slide the new shingle into place, making sure it aligns with the other shingles and overlaps the one beneath it.
Use roofing nails to secure the new shingle. Place the nails one inch above the bottom edge of the shingle and drive them in at a slight angle.
If necessary, use a utility knife to trim the new shingle to fit. Ensure that the shingle is securely fastened and sits flat against the roof. Repeat this process if you’re replacing multiple shingles.
Step 4: Seal the Edges
After the new shingles are installed, apply a generous amount of roofing adhesive around the edges of the shingle to seal it and prevent water from seeping underneath.
This will also help hold the shingles in place, especially in areas with heavy winds.
Be sure to check the surrounding shingles to ensure they’re still secure and properly aligned.
Apply additional roofing adhesive as needed to seal any areas that may have been exposed during the repair process.
Step 5: Inspect and Clean Up
After the new shingles are installed and sealed, take a step back and inspect your work. Make sure all shingles are aligned, and there are no gaps or loose edges. Clean up any debris on the roof, such as stray nails or pieces of old shingles, to prevent future damage.
When to Call a Professional
While replacing a single or a few shingles is a manageable task for most homeowners, there are situations where you may need to call in a professional roofer. Consider hiring a professional if:
The damage is extensive: If a significant portion of your roof is damaged or if the leak is widespread, it’s best to call a professional to avoid further damage.
You’re unsure about the repair: If you’re not comfortable working on your roof or if the job requires specialized tools, it’s safer and more efficient to hire an expert.
There are underlying issues: If you find rot or significant damage to your roof’s structure, it’s important to have a professional assess the situation and make the necessary repairs.
Frequently Asked Questions
1. How can I tell if my roof shingle is damaged?
Look for cracked, curled, or missing shingles. You may also notice discoloration or water stains on the ceiling below.
2. Can I replace just one shingle?
Yes, you can replace a single damaged shingle without replacing the entire roof, as long as the damage is isolated and doesn’t affect other areas.
3. How long does it take to repair a roof leak?
A simple roof leak repair can take around 1-2 hours, depending on the extent of the damage and your experience with roof repairs.
Conclusion
Repairing a shingle roof leak is a straightforward task that can prevent further damage and costly repairs down the road.
By identifying the source of the leak, carefully removing damaged shingles, and replacing them with new ones, you can restore the integrity of your roof and keep your home safe and dry.