Is your roof missing shingles or showing signs of damage? Ignoring the issue could lead to bigger problems down the road.
Luckily, replacing a roof shingle is a simple DIY task! In this guide, we’ll show you how to do it safely and efficiently, with all the tools and tips you need for a quick fix.
How do you replace a roof shingle?
To replace a roof shingle, lift the damaged shingle, remove nails, slide the new shingle into place, and secure it with roofing nails. Apply roofing adhesive to seal edges for protection.
Key Takeaways
- Tools and Materials: You’ll need basic tools like a hammer, roofing nails, a pry bar, and replacement shingles.
- Safety First: Always take safety precautions, including using a sturdy ladder and wearing protective gear.
- Step-by-Step Process: Replacing a roof shingle involves removing the damaged shingle, installing a new one, and ensuring it’s securely fastened.
Why You Need to Replace a Roof Shingle
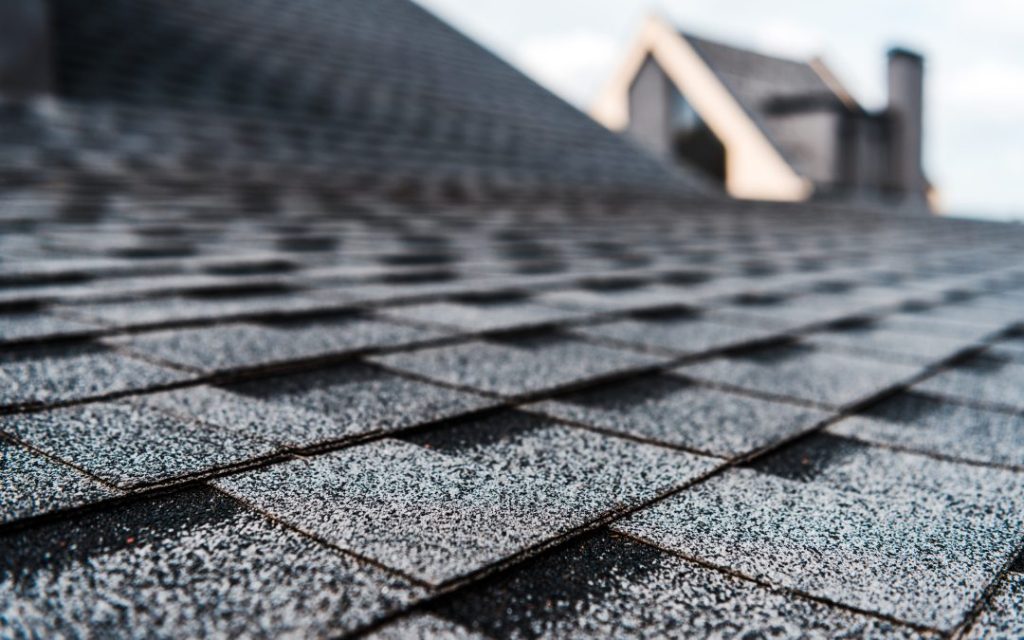
Roof shingles are designed to protect your home from the elements, but they don’t last forever. Over time, shingles can become cracked, loose, or damaged by severe weather, causing leaks and potential water damage to your home.
Replacing a single damaged shingle can help maintain the integrity of your roof and avoid costly repairs down the road.
Common signs that a roof shingle needs replacing include:
Curling or Cracked Shingles: Age, wind, and sun exposure can cause shingles to curl or crack, compromising their effectiveness.
Missing Shingles: If a shingle is blown off during a storm, it’s important to replace it quickly to prevent water from seeping into your roof.
Discoloration: Discolouration can signal water damage or other issues with your shingles, which may require replacement.
What You’ll Need to Replace a Roof Shingle
Before you begin the job, make sure you have the right tools and materials. Here’s what you’ll need:
Tools:
- Hammer: To nail the new shingle into place.
- Roofing Nails: These are special nails designed to secure the shingles without causing leaks.
- Pry Bar or Flat Bar: To gently lift the damaged shingle and remove it.
- Utility Knife: To trim any excess material from the new shingle if needed.
- Ladder: Ensure you have a sturdy ladder to reach the roof safely.
- Shingle Remover: A tool that helps pull out nails from old shingles.
Materials:
- Replacement Shingle: You’ll need a new shingle that matches the existing ones. It’s essential to use the same type and color to maintain the roof’s appearance.
- Roofing Adhesive: Some shingles may require roofing adhesive to ensure proper sealing and prevent water from seeping under the shingle.
Step-by-Step Process for Replacing a Roof Shingle
Now that you’ve gathered the necessary tools and materials, it’s time to start replacing the shingle. Follow these steps to make sure the job is done properly.
Step 1: Safety First
Before you climb up on your roof, take the necessary safety precautions:
- Wear non-slip shoes for better traction.
- Use a sturdy ladder to reach the roof safely.
- If possible, have someone hold the ladder while you work.
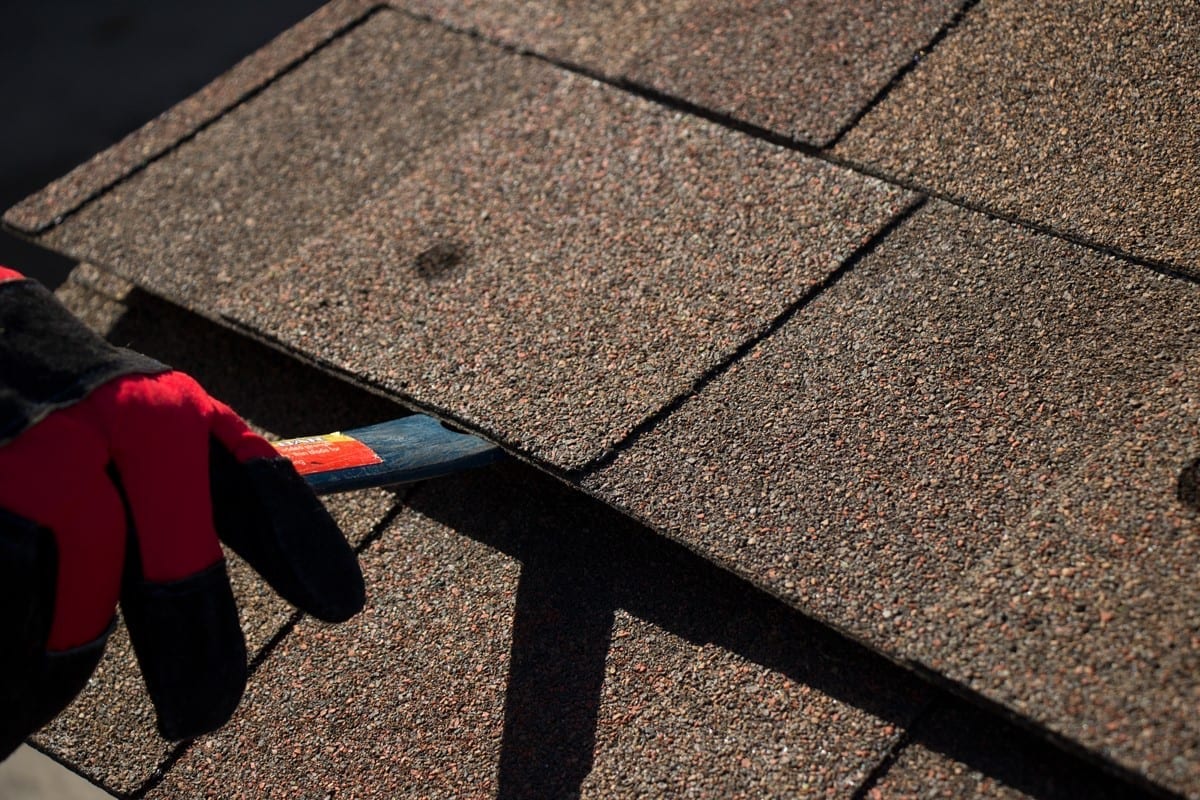
Step 2: Remove the Damaged Shingle
Start by locating the damaged shingle. Use a pry bar or flat bar to gently lift the bottom edge of the damaged shingle. Be careful not to damage the surrounding shingles while doing this.
Once the bottom edge is lifted, you’ll see the nails holding the shingle in place. Use a shingle remover or a hammer to carefully remove these nails. You may need to gently lift the edges of the shingles around it to access the nails.
After removing the nails, pull out the damaged shingle. Be sure to discard it properly.
Step 3: Install the New Shingle
Now that the old shingle is removed, it’s time to install the new one. Begin by sliding the new shingle into place, making sure it’s aligned with the surrounding shingles.
Use roofing nails to secure the new shingle in place. Place the nails about 1 inch above the bottom edge of the shingle and make sure they are driven in at a slight angle. This ensures that the shingle is securely fastened and prevents water from seeping in.
If necessary, trim the new shingle with a utility knife to fit it properly, especially if it’s a partial replacement. Once the shingle is properly aligned, press it down firmly.
Step 4: Seal the Shingle
To ensure the shingle stays in place and to prevent leaks, you may need to apply a small amount of roofing adhesive to the back of the shingle. This will help it stick securely to the layer underneath and prevent wind from lifting it.
Step 5: Check Your Work
Once the new shingle is in place, check the surrounding area to make sure everything is properly aligned and there are no gaps. The new shingle should be flush with the surrounding shingles. If everything looks good, you’re done!
Tips for a Successful Roof Shingle Replacement

While replacing a roof shingle is a relatively straightforward process, there are a few tips that can make the job easier:
Match Shingles: Always make sure the new shingle matches the existing shingles in both color and material. This will maintain the overall look of your roof.
Don’t Skip Ventilation: Proper roof ventilation is crucial for preventing damage to your shingles in the long term.
If your roof lacks proper ventilation, it may be worth addressing during the replacement process.
Inspect Your Roof Regularly: Regularly inspect your roof for signs of damage, especially after severe weather. Catching problems early can help you avoid costly repairs down the line.
When Should You Call a Professional?
While replacing a single shingle is a manageable DIY project for many homeowners, there are times when it’s best to call in a professional roofer.
If the damage is extensive or if you’re spotting signs of a bigger problem like roof leaks or rotting wood, it’s smart to speak with a professional who handles roofing for commercial purposes in Savannah, GA.
A roofing contractor can provide a full roof inspection and ensure any underlying issues are properly addressed.
Frequently Asked Questions
1. How do I know if my roof shingle needs replacing?
Look for signs such as cracking, curling, missing shingles, or discoloration. If you notice any of these, it’s time to replace the shingle.
2. Can I replace a single roof shingle myself?
Yes, replacing a single roof shingle is a manageable DIY task. Just make sure you take safety precautions and follow the correct steps for installation.
3. How long does it take to replace a roof shingle?
Replacing a single shingle can typically be done in 30 minutes to an hour depending on the complexity and the tools you have available.
Conclusion
Replacing a roof shingle is a simple and effective way to keep your roof in top condition.
Whether you’re dealing with damage from a storm or simply maintaining the integrity of your roof, replacing a single shingle can prevent more significant issues and prolong the life of your roof.
By following the proper steps and using the right materials, you can complete the job safely and efficiently.